

how to draw figures step by step
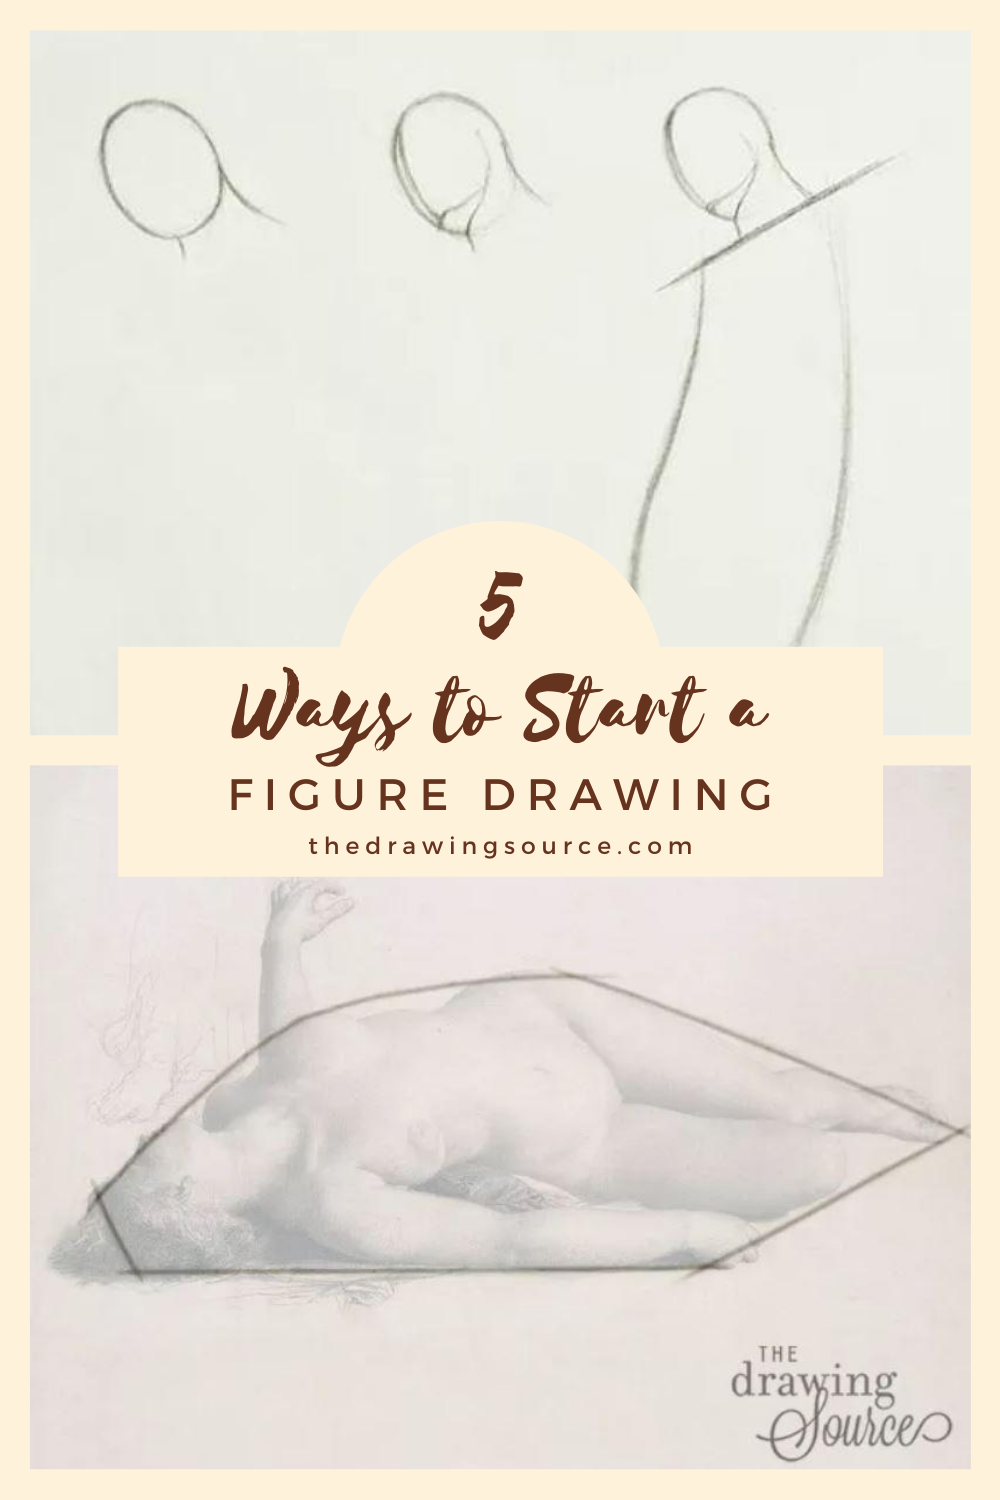
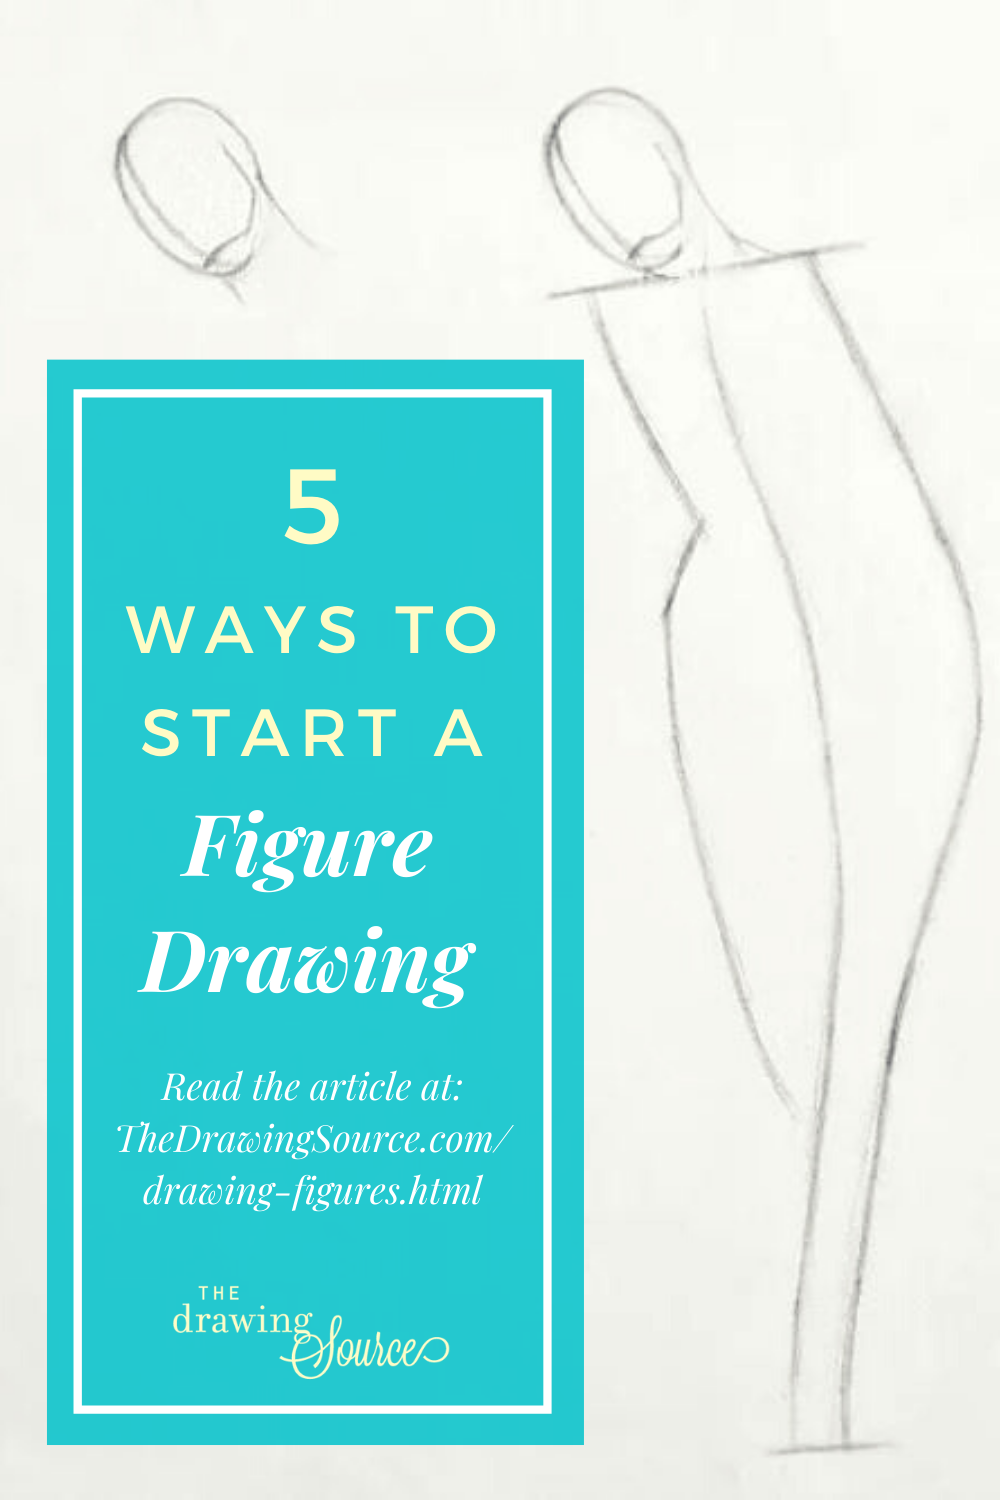
v Ways to Start a Figure Drawing
Drawing Figures:
 Drawing by Paul Beaudry
One of the challenges of drawing figures is that it is a problem solving activity that requires us to be flexible in our arroyo.
Because no two drawing scenarios are the aforementioned, we must learn to creatively think of various solutions to solve each individual "drawing problem".
When working from life, we as well face the added challenge of having to do thisapace, equally nosotros rarely have unlimited time with the model.
With practice you will acquire to generate as many solutions as at that place are poses. You will brainstorm to identify the most important elements in a pose, and recognize which to start with that will allow the residue of the drawing to progress efficiently and smoothly.
For example, if the line of the shoulders is very prominent, yous may choose to begin your drawing there. Possibly there is a dynamic movement essential to the gesture of the pose that you lot showtime with. Very complicated poses tin can exist simplified by beginning with an "envelope" to indicate the area that the effigy occupies, as well as the major angles of the pose. These are but a few examples of the possibilities.
In that location is usually more than one right answer. After all, drawing figures is not solely an analytical activity, but an interpretive and intuitive one every bit well. However, within the myriad of possible correct answers, there may exist a about efficient and effective way of first a drawing, which will go easier to identify with practice.
Let's look at five strategies to "solve" the beginning of a effigy drawing.
![]()
Download a PDF version of this article!
(plus, go a weekly newsletter and admission the Members-Only Drawing Resource Library)!
five Ways to Commencement Drawing Figures
1. You tin brainstorm cartoon figures with the head and neck.
Perhaps the nigh common and logical way to begin a figure cartoon is to work from top to bottom - to initially indicate and place the model's head.
 Completed drawing on the left by William Adolphe Bouguereau
If I were to describe a pose such as the one in the in a higher place drawing, I would begin past indicating the full general shape and angle of the caput with a uncomplicated oval or egg. Discover that my oval does not include the pilus. The egg shape represents the skull, upon which the hair volition be added later on.
Once I accept established the general shape, I give the oval the correct tilt and a sense of perspective by cartoon the centre line of the face and indicating the chin and jaw lines. Observe how this minimal information establishes the position of the head in infinite and starts to create a sense of 3-dimensionality.
It is good practice to build up all areas of a cartoon simultaneously so that there is ample opportunity to compare the proportions, angles and accurateness of the drawing earlier delving into further detail. Following this principle, I exit the head at this point to move on to the line of the shoulders, paying particular attending to the bending of the shoulders and the distance between the chin and the shoulder line.
When I am confident in the angle of the shoulders, I motility on to drawing the chief action line and gesture of the pose, and placing the feet.
 Completed drawing on the left by Kenyon Cox
In this second example I take used the same strategy: I began with a basic oval shape for the head. To clarify the position of the head in space I indicated the chin, jaw and center line of the face. I and so located the line of the shoulders earlier drawing the chief action line of the pose, placing the feet to establish the height of the figure, and drawing the center line.
Advantages of Get-go a Figure Drawing with the Head
There are some distinct advantages to outset your drawing by blocking in the head, such as:
![]()
The tilt of the head and angle of the shoulders are oftentimes important in establishing the gesture of a pose.
![]()
Yous tin extend a plumb line from the head to decide how far in each direction the body extends. In the above drawing, do yous run into the vertical line that runs through the figure's nose? Yous tin can use it to place the figure's hip, for instance, by observing how far to the right of the plumb line the hip is located. Observing the negative space between this plumb line and the outline of the figure can also help you achieve a more accurate drawing.
![]()
The head can besides be used equally a unit of measurement to determine the tiptop and width of the pose, as well as many of the smaller proportions on the figure.
![]()
2. Y'all can begin drawing figures with the shoulder line.

In poses where the shape of the head is partially or completely obscured and the line of the shoulders is a more prominent feature, the latter can be an ideal place to begin the drawing.
How do you find the line of the shoulders?
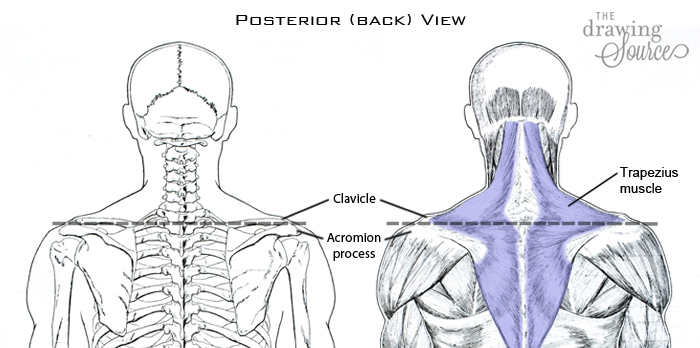
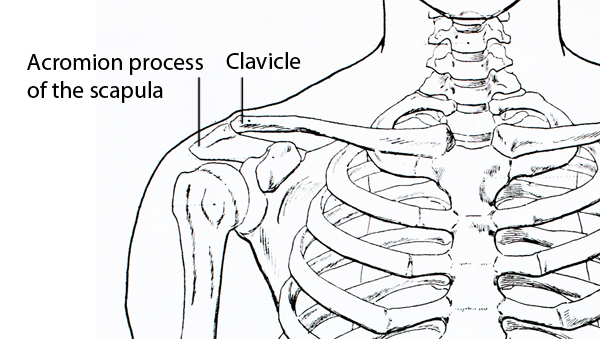
When viewing the figure from the front, the line of the shoulders is institute along the visible line created by the clavicle basic, beneath the triangular outline of the shoulders created by the trapezius muscle. Muscles lie on top of the skeletal structure of the trunk. We tin can mimic this order in our drawings by indicating the line of the clavicles get-go, and adding the trapezius muscle on top of that construction line later.

When viewing the figure from the back, look for the point of the shoulder where the clavicle meets the acromion procedure of the scapula. This is ordinarily adequately easy to locate because there is a protrusion which tin can often be seen on the surface of the body, right where the clavicle ends and articulates with the scapula.
![]()
On some people, the angle of the shoulder straightens out considerably in this area, making the line of the shoulders easier to locate. Connect these points on both shoulders with a straight or arcing line to find the shoulder line.
Here is another example of a drawing scenario in which you may choose to begin with the shoulders instead of the head:
 Completed drawing on the left by Nikolai Blokhin
three. Y'all tin begin drawing figures with a gesture line
When a pose has a very distinct, expressive movement that you want to communicate, you may choose to begin with a gestural line that describes the major action occurring in the pose. An easy mode to identify this major action is to ask yourself, "What is the effigy doing?" or "What is happening in this pose?"
 Completed drawing on the left by Paul-Louis Clarin
In this case the figure is seated on a chair, leaning slightly forrard and to the left, and looking at the ground. Ane leg is extended forward while one is flexed back. I can describe this move near simply by drawing a sweeping C-curve that begins at the head, curves around the body and continues on to connect the torso to the sole of the foot. Discover the repetition of this movement in the left side of the body and in the curvature of the spine.
One time I have established this motion, I can find the angle of the shoulders, the shape of the caput, and where the torso ends. The artillery and legs can be indicated initially with gestural lines.
 Completed drawing on the top left past Juan Adan Morlan
In this like scenario, the chief action line in the above cartoon is a sweeping C-bend that is repeated in the right side of the body, the spine, and even in the position of the right arm. After drawing the overall move of the pose with a gesture line, I move on to find the line of the shoulders, the opposing compressed action in the right side of the trunk, and the feet.
![]()
four. You tin begin drawing figures with a shape.
Poses that are compressed or foreshortened (for example, when the figure is seated or reclining) may not take a long, sweeping major action line. Instead, their gesture may be all-time communicated past drawing the shape that the pose fits into.
You can start these types of figure drawings by blocking in a specific shape, paying close attention to its proportions and angles (the triangle below is non an equilateral one!). Then, imagine that yous are a sculptor chiseling away backlog areas of the triangle to reveal the grade of the effigy.
 Completed cartoon on the left by Anthony van Dyck
![]()
5. Yous can begin drawing figures with an "envelope".
As the title of this strategy suggests, an "envelope" envelops the pose. I use the envelope when drawing a challenging pose that I desire to begin more analytically rather than intuitively, in lodge to increase my chances of drawing information technology accurately. Similar to the higher up shape method, the envelope shows u.s.a. the surface area that the figure occupies. To depict the envelope yous tin can use straight lines, curved lines, or a combination of the 2 to map out the boundaries of the figure.
 Completed cartoon by Charles Gleyre
Notice that a new line begins wherever there is a major bending change in the pose.
 Completed cartoon on the left by Kenyon Cox
Are you starting to observe any patterns? No matter how I begin my drawing, the essential information that I try to find as speedily every bit possible in my first 10 or so lines is:
![]()
the general shape and tilt of the head
![]()
the line of the shoulders
![]()
the main activity line and gesture of the pose
![]()
the placement of the feet
![]()
the estimate acme and width of the pose
Taking your fourth dimension to observe and draw these elements volition create a successful foundation for the rest of your cake in, the construction of the figure, and the eventual rendering of the drawing.
![]()
Download a PDF version of this commodity!
(plus, get a weekly newsletter and access the Members-Only Drawing Resources Library)!
![]()
Cartoon Figures: Choosing a Strategy
If you lot're having difficulty deciding which strategies to utilise to begin drawing figures, here are a few things to consider:
Begin with what inspires you.
What yous brainstorm with depends on what is virtually important to yous in the pose. Before you lot even pick upwards your pencil, first identify what interests you: Why do you want to describe this pose? What is it that inspires y'all about this particular pose that you wish to communicate in your drawing? If it is the dynamic movement, for example, then perchance brainstorm with a gesture line to express that thought with your initial pencil marks.
Start with the easiest, nearly evident variable.
You can also begin with whichever variable is well-nigh evident to you. Which element from the to a higher place list of "must-haves" do you remember will exist easiest to draw accurately? If the shape and tilt of the caput seem clear and obvious to you, for case, begin there. Possibly it is the distinct bending of the shoulders that stands out to you.
With exercise, determining how to begin your drawing volition become a creative and exploratory endeavour.
Happy Drawing,
![]()
![]()
Enjoyed this page? Please share information technology!
Share buttons and pinnable images below:
If you enjoyed this page on drawing figures,
you may too be interested in ...
Return to Effigy Drawing from v Ways to First Drawing Figures
Return to the Homepage from 5 Ways to Start Drawing Figures
![]()

Source: https://www.thedrawingsource.com/drawing-figures.html
Posted by: kawakamioweend1964.blogspot.com
0 Response to "how to draw figures step by step"
Post a Comment